I spend quite a lot of time each week on digitizing or tinkering with the website, but I also like to work on other crafts and projects. This page showcases mostly things I've been working on, though I do sometimes feature items made by my sisters. Most are embroidery-related, but some show other crafts and activities as well. Many of the items, though not all, are gift items for friends and siblings, mainly for Christmas, the biggest gift-giving time of the year in my family.
If any of these project ideas interest you, please let me know and I'll post some detailed instructions.
Fleece Mittens
Posted 18 December 2020
I've been making fully lined fleece mitts this past week, for both DH and my friend. I love how toasty-warm these are, and they can be embroidered for personalization.
Click here to see the finished mitts.
If you'd like to try your hand at these, you can find detailed pictorial instructions at this link showing how they're put together. And here's another good one with detailed pattern and instructions, including variations.
Gwen's Baubles
Posted 11 December 2020
Each year Gwen creates beautiful handmade ornaments. This year's lovely origami-style ornaments are made from luxurious papers, intricately folded and bejewelled. Her artist's eye and her deft fingers make each one a work of exquisite beauty.
Click here to see a PDF of some of her beautiful creations.
Yip Yep Yup Uh huh
Posted 4 December 2020
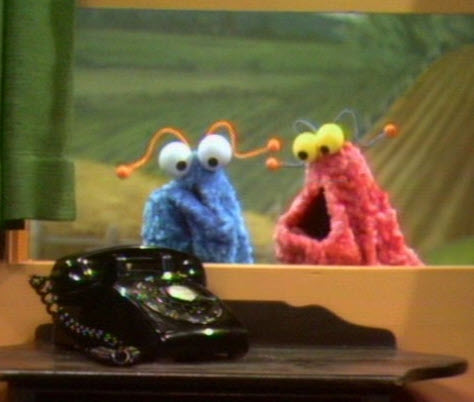
Remember these alien muppet characters from long ago on Sesame Street? This year my sister Nita decided to make her own versions as Christmas stockings for all the sibs and their spouses.
Click here to see her finished product.
Da Vinci's Angel Ornaments
Posted 27 November 2020
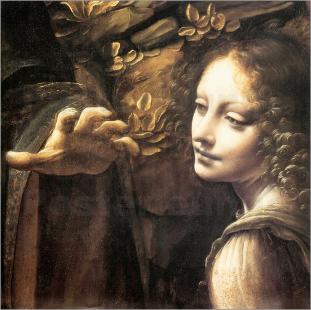
I have always loved this angel detail from DaVinci's Madonna of the Rocks.
Recently I decided to turn this beloved image into two very different ornaments for my Christmas tree.
Click here to see how they turned out.
Silver Diamond Ornament
Posted 20 November 2020
A few weeks ago I wrote about how I finished up one of my origami diamond ornaments.
At the time I hadn't yet figured how I wanted to complete this sliver and white one. Well, it's done now, in plenty of time for Christmas, and it looks lovely.
Click here to see the how it turned out.
Adapting a Design to an XL Tee
Posted 13 November 2020
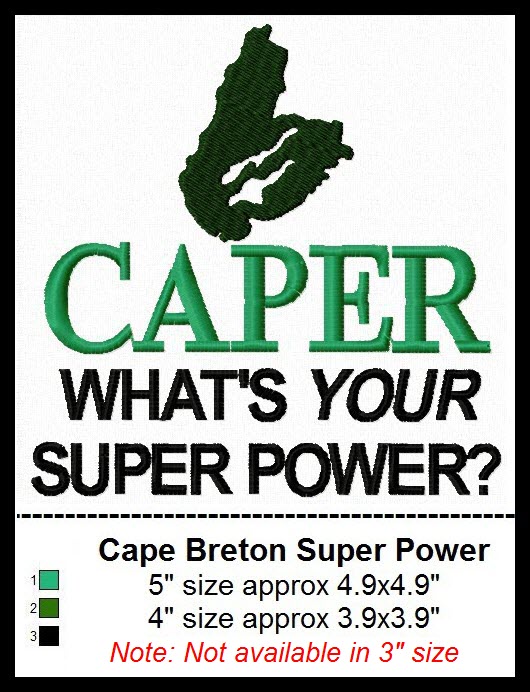
When I'm stitching t-shirts, I can generally use the 5" size of a design, but occasionally I need something larger, as I did for the XL sized shirt I embroidered for a friend for Christmas. At right is the design I started with, but I altered it to better suit the tee.
To see the changes I made, and the finished shirt, click here for a PDF of this project.
Shirts for Christmas
Posted 6 November 2020
As a guy gift, you pretty much can't go wrong with an embroidered shirt that reflects his interests or personality.
And the nice thing is that you know your gift will be appreciated and actually worn!
Click here to see some of the shirts I've made this year.
Vintage-Style Rosette Ornament
Posted 30 October 2020
I love vintage-style ornaments, and recently decided to try making some of these book-page rosettes, like this one for my sewing room tree.
Click here to learn more.
There are lots of instructions on line for making vintage rosette ornaments, including this video from Mark Montano.
Repairing Piper Santa
Posted 23 October 2020
This Scottish Santa figurine invited himself home from the thrift store, on the understanding that I'd be able to repair his bagpipes.
I love this kind of challenge, and I also liked his $4 price tag. To see the restored pipes, click here.
Mask Pleating Update
Posted 16 October 2020
Like lots of sewists, I've been making face masks since March, starting with the basic 6x9" pleated rectangle. I've also been experimenting with variations to see if I could get a better fit.
I think I've finally got one, and not only that, it's just as easy to make as the original style.
To see my version, click here.
Atheists Love Christmas Too!
Posted 9 October 2020
Browsing on line, my sister spotted this irreverent Christmas stocking. She thought immediately of joke-gifting a friend who pretends to be a bit of a Scrooge about Christmas.
She was disappointed that the stockings themselves seem to be completely sold out everywhere they were listed, so she asked me if I could create something similar. I could, and I did.
To see my version, click here.
For more on how I construct my Christmas stockings, you can find a PDF at this link. It illustrates the making of a stocking other than this one, but the procedure I followed is the same in both cases.

Freak in the Room
Posted 2 October 2020
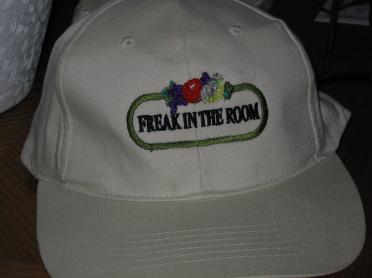
As a gift for Christmas, my brother requested a replacement for his much-loved "Freak in the Room" cap, which he finally wore out a while back.
He'll be pleased to find a new one under the tree, and I hope it will stay a surprise til Christmas. (He doesn't follow the site, so won't see it here).
To read more and to see the new hat, click here.
Diamond in the Rough
Posted 25 September 2020
A few months ago, I made this diamond-shaped origami ornament from a couple of Christmas cards. It's been hanging in my craft room for a while now because I couldn't quite decide how I was going to finish it off.
This past week, while gathering cones for Christmas decor, I had an inspiration.
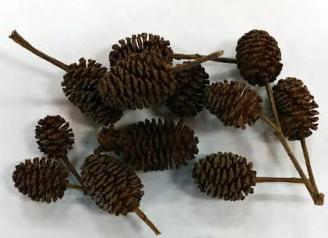
To see the gorgeous finished ornament, click here for a PDF.
Santa's Sack Stocking
Posted 18 September 2020
This project is a fun riff on the Christmas stocking tradition: a Santa with his toy sack, waiting to be filled.
To make it, I revisited a pattern that I first designed in the 1980s, but this time I added some machine embroidery that I think has made it even better.
To learn more about my original Santa Sack stocking design and its newest iteration, click here to find my PDF.
Thinking Pink
Posted 14 August 2020
This Pinkie is an oldie but goodie, made up from one of the toy patterns that I created some years ago. I decided to make one of these for my little nephew, who has become a fan after watching the vintage cartoons with his grandma.
Read more about this project in this PDF.
Greatest Hits
Posted 7 August 2020
A few years ago I had the inspiration to make a mini version of a favorite Christmas album as an ornament for my tree. I loved it so much that this year, I revisited this same idea for my friend's Ornament-of-the- Month series.
Click here see the PDF of this fun ornament project.

Bags of History
Posted 24 July 2020
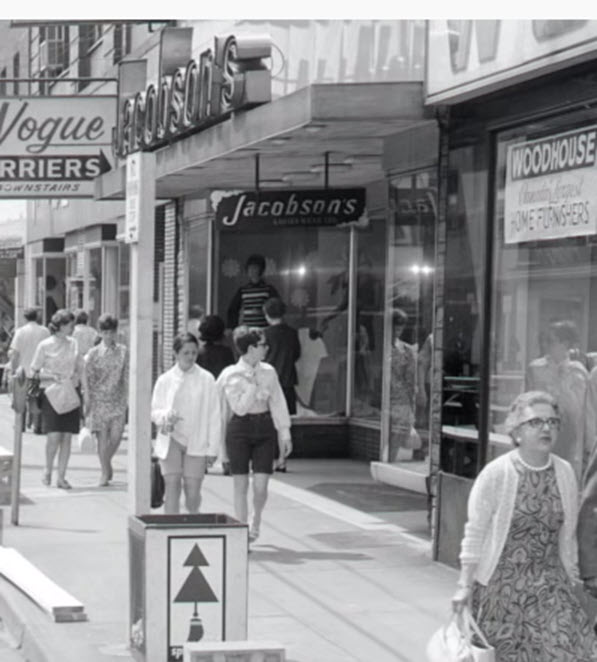
The older I get, the more familiar landmarks of my youth that seem to melt into the mists of history. So with Jacobson's, the venerable ladies' wear emporium that stood in our downtown for nearly a century.
A fixture for all of us, it was extra special for my best friend, whose dad was manager there, and who worked there for a time herself.
How neat to be able to gift her with a custom memento of both our home town and of her dad, who passed away some years ago.
Click here to read more about the gift and its context.
Sweet Memories
Posted 17 July 2020
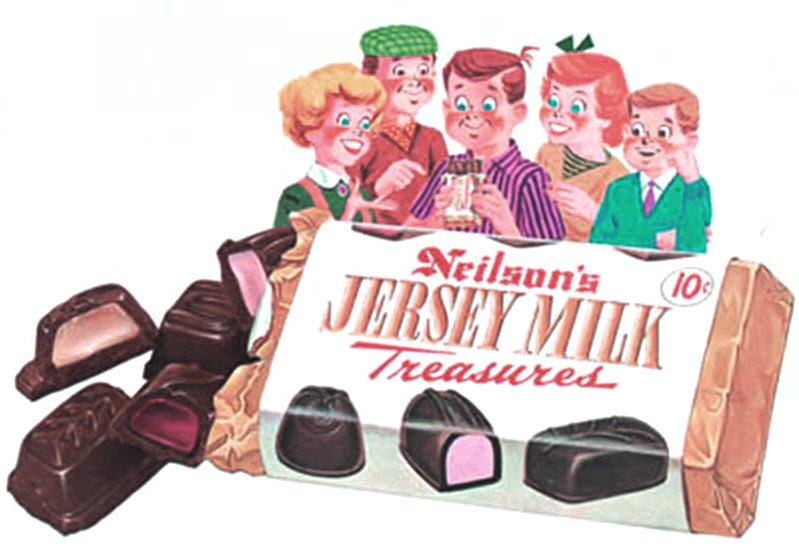
This chocolate bar from my childhood was a favorite, a bit of long-gone sweetness fondly remembered by all of my siblings.
Click here to see how it became a nifty Christmas ornament.
Can I Has Wreath?
Posted 10 July 2020
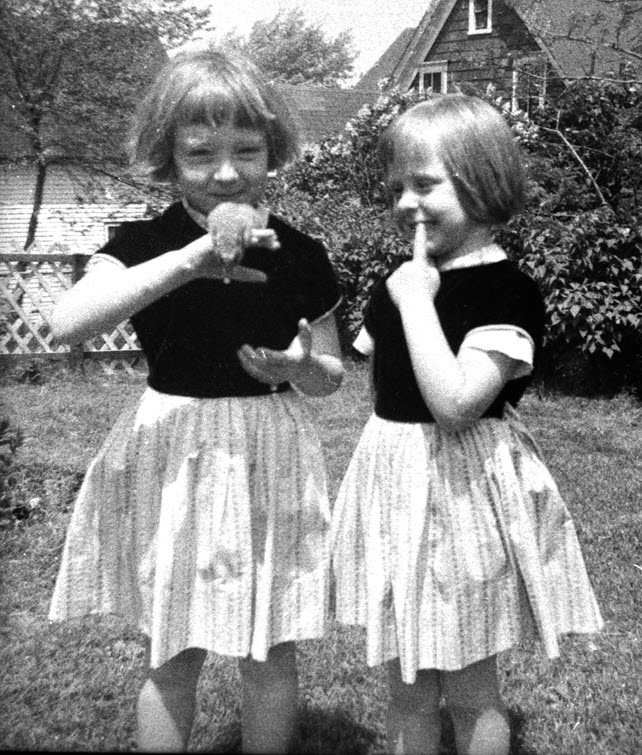
Two little girls and a hamster: thereby hangs a tale . . . and a new Memory ornament.
Click here to see the latest addition to my personal collection.
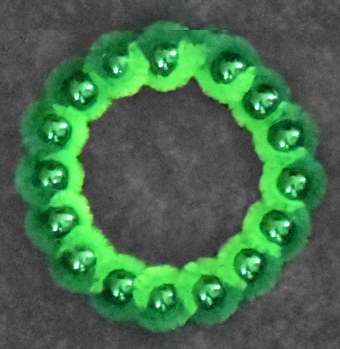
The little chenille/bead wreath that I used in this project is demonstrated on youtube by Lori (Happy Bird). She shows samples and explains exactly how to make them with two chenille stems and a length of fused beads.
Sharpie to the Rescue
Posted 3 July 2020
What to do when bobbin thread pulls to the right side of a design during stitch-out?
This sometimes happens with machine embroidery, but happily there's a fairly easy fix. Click here to read more, and to see the finished Taz ornament.
Tightening Large Hoops
Posted 2020 June 26
My large hoops have springs only in two opposite corners, and it's difficult to keep them evenly tight all the way around.
It's tempting to over-tighten them in an attempt to keep the hooped fabric taut, but over-tightening can crack the hoop or damage the spring mechanism.
I have hit on a method for tightening the hoops that doesn't damage the hoops or interfere with the operation of the machine. To find out how, click here for a PDF document.
Easy "Off-the-Wall" Looney Tune Mug Pen Holders
Posted 2020 June 12
I love the classic Looney Tunes, and these mugs add a whimsical touch to my sewing room! But they're a bit too big for the desktop, so I had the idea of putting them on the wall -- hopefully without damage either to the wall or to the mugs.
Click here for the PDF that explains how I did it.
Gift Bag Featuring Crowell's Logo
Posted 2020 June 5
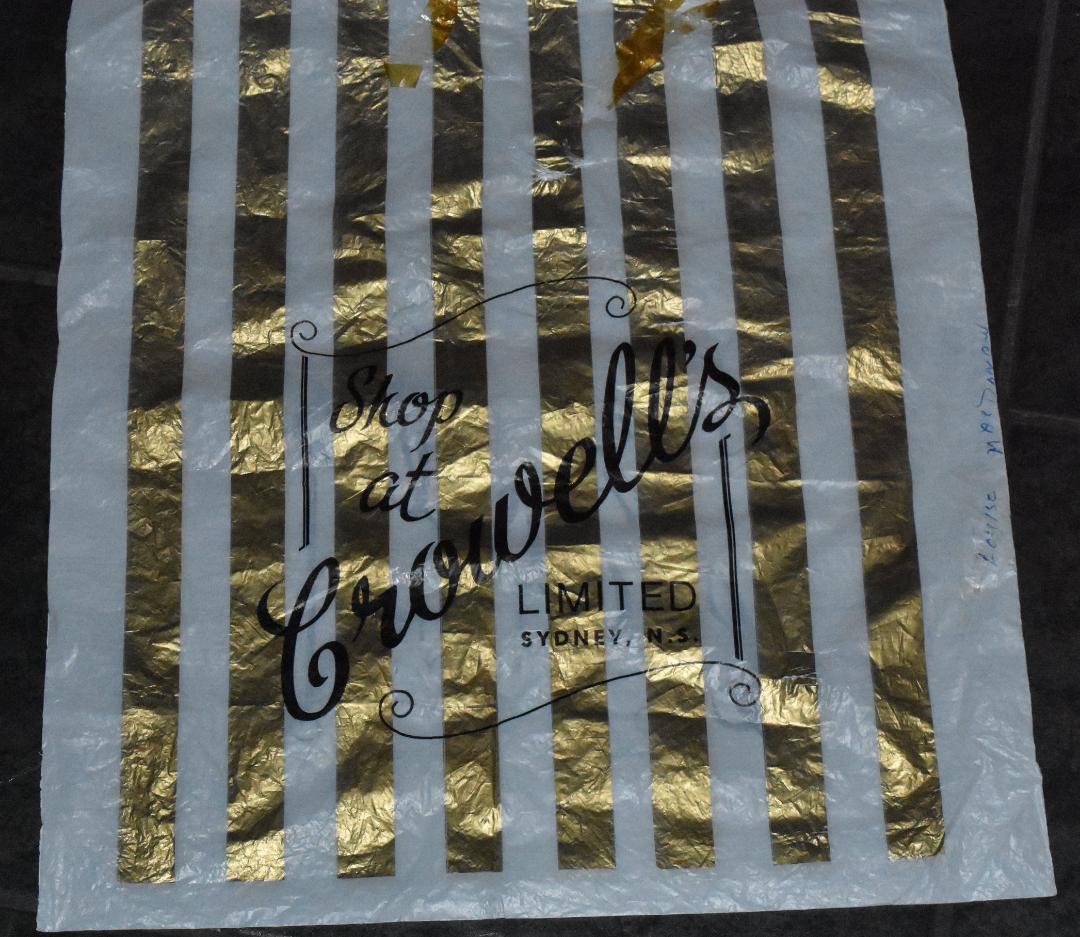
When I was a kid, one of the most iconic places in our town was an old-fashioned upscale British-style haberdashery. It's long gone now, having been closed some 20 years ago, but it lives on in memory.
I recently decided to digitize the lettering and insignia from the front of this vintage store bag, thinking to make some gift bags for my sisters and a couple of friends who remember the place fondly.
Click here to find the PDF with the whole story, and a picture of the finished gift bag.
Home-made Thread Cone Holder
Posted 2020 May 29
Here's an idea for a quick, practically free holder that will allow you to use large cones of thread on your home sewing machine. It's at least as good as the rickety plastic ones that cost you a minimum of $5, and did I mention that you can make it with odds and ends you have lying around the house?
If the picture's not self-explanatory, click this link to find a PDF showing how I made these for all my machines.
Three Tips from Jen's Embroidery Loft
Posted 2020 May 22
What am I doing in this picture?
Hint: it will save you loads of frustration if you have to thread a machine without an automated thread holder.
This tip *really* works, but I only discovered it recently, and I can't believe that I've never run across it before in more than 40 years of sewing! I shared it with my own sewing guru, Rob, and he's as asonished as I've been.
Click here to find a PDF featuring this goodie, plus two other handy sewing/embroidery room tips that I use all the time.
Covid-19 Mask and Notice from Starfleet Command
Posted 2020 May 15
Like many others in the midst of this Covid 19 crisis, my sister Nita has been busy lately making masks for friends and family to wear.
When another sister sent along this image of a Trek-themed mask that she saw on line, Nita decided to make her own versions as a surprise for a couple of her Trekkie friends.

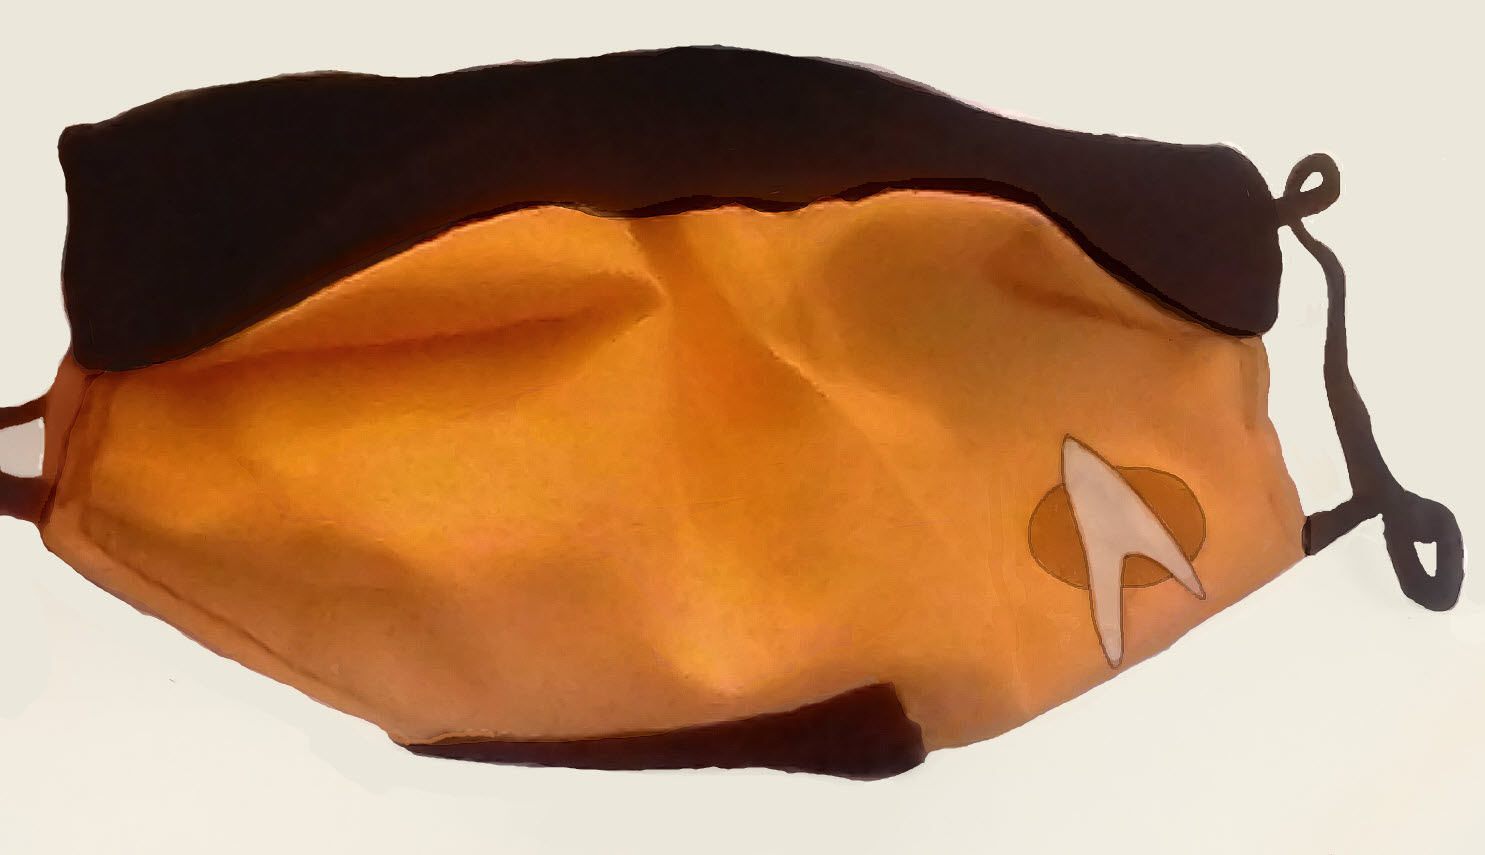
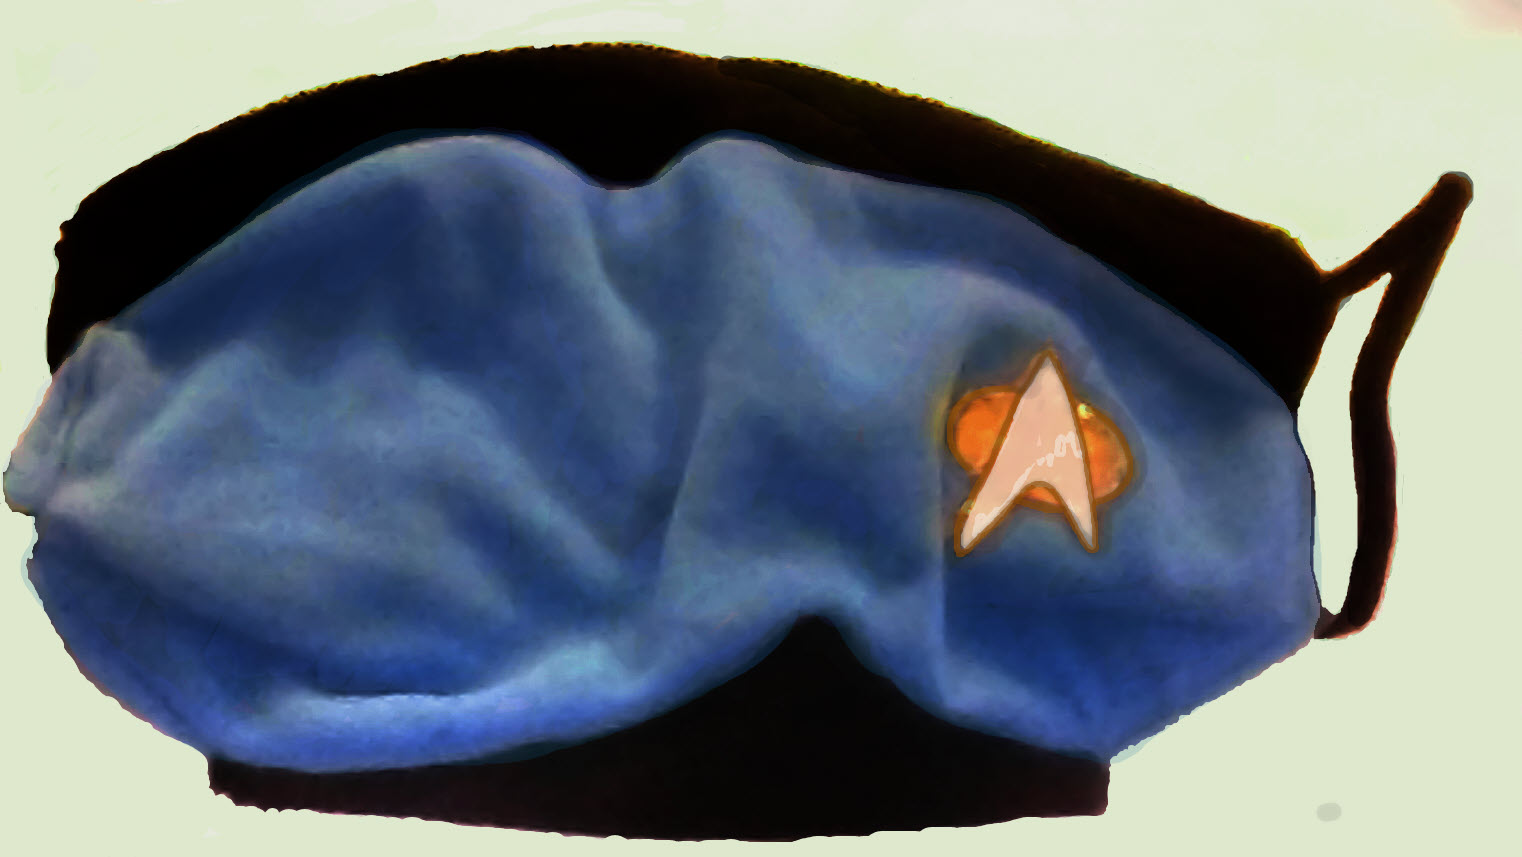
She wasn't intending to take photos for the web page -- she took these snaps quickly with her tablet, just enough to show us what she'd made. But she gave me permission to use them in this post.
She says she didn't want to perforate the mask by appliqueing the symbols, so she attached them with fusible bonding material and outlined them with fabric paint.
Once the masks were finished, she packaged them up to mail out to her friends.
The masks themselves are cool, of course, but the best thing about this project might just be the "official" notification from Star Fleet Command, authored by Starfleet Admiral Jerry (my brother-in-law).
She tucked this into the package along with the masks, which she sent anonymously. Word is that the friends got a huge kick out of the masks and message, and for some reason they immediately guessed who was behind the whole thing. Their masks have been a hit wherever they've worn them.

Refurbishing a Treadle Machine
Posted 2020 May 8
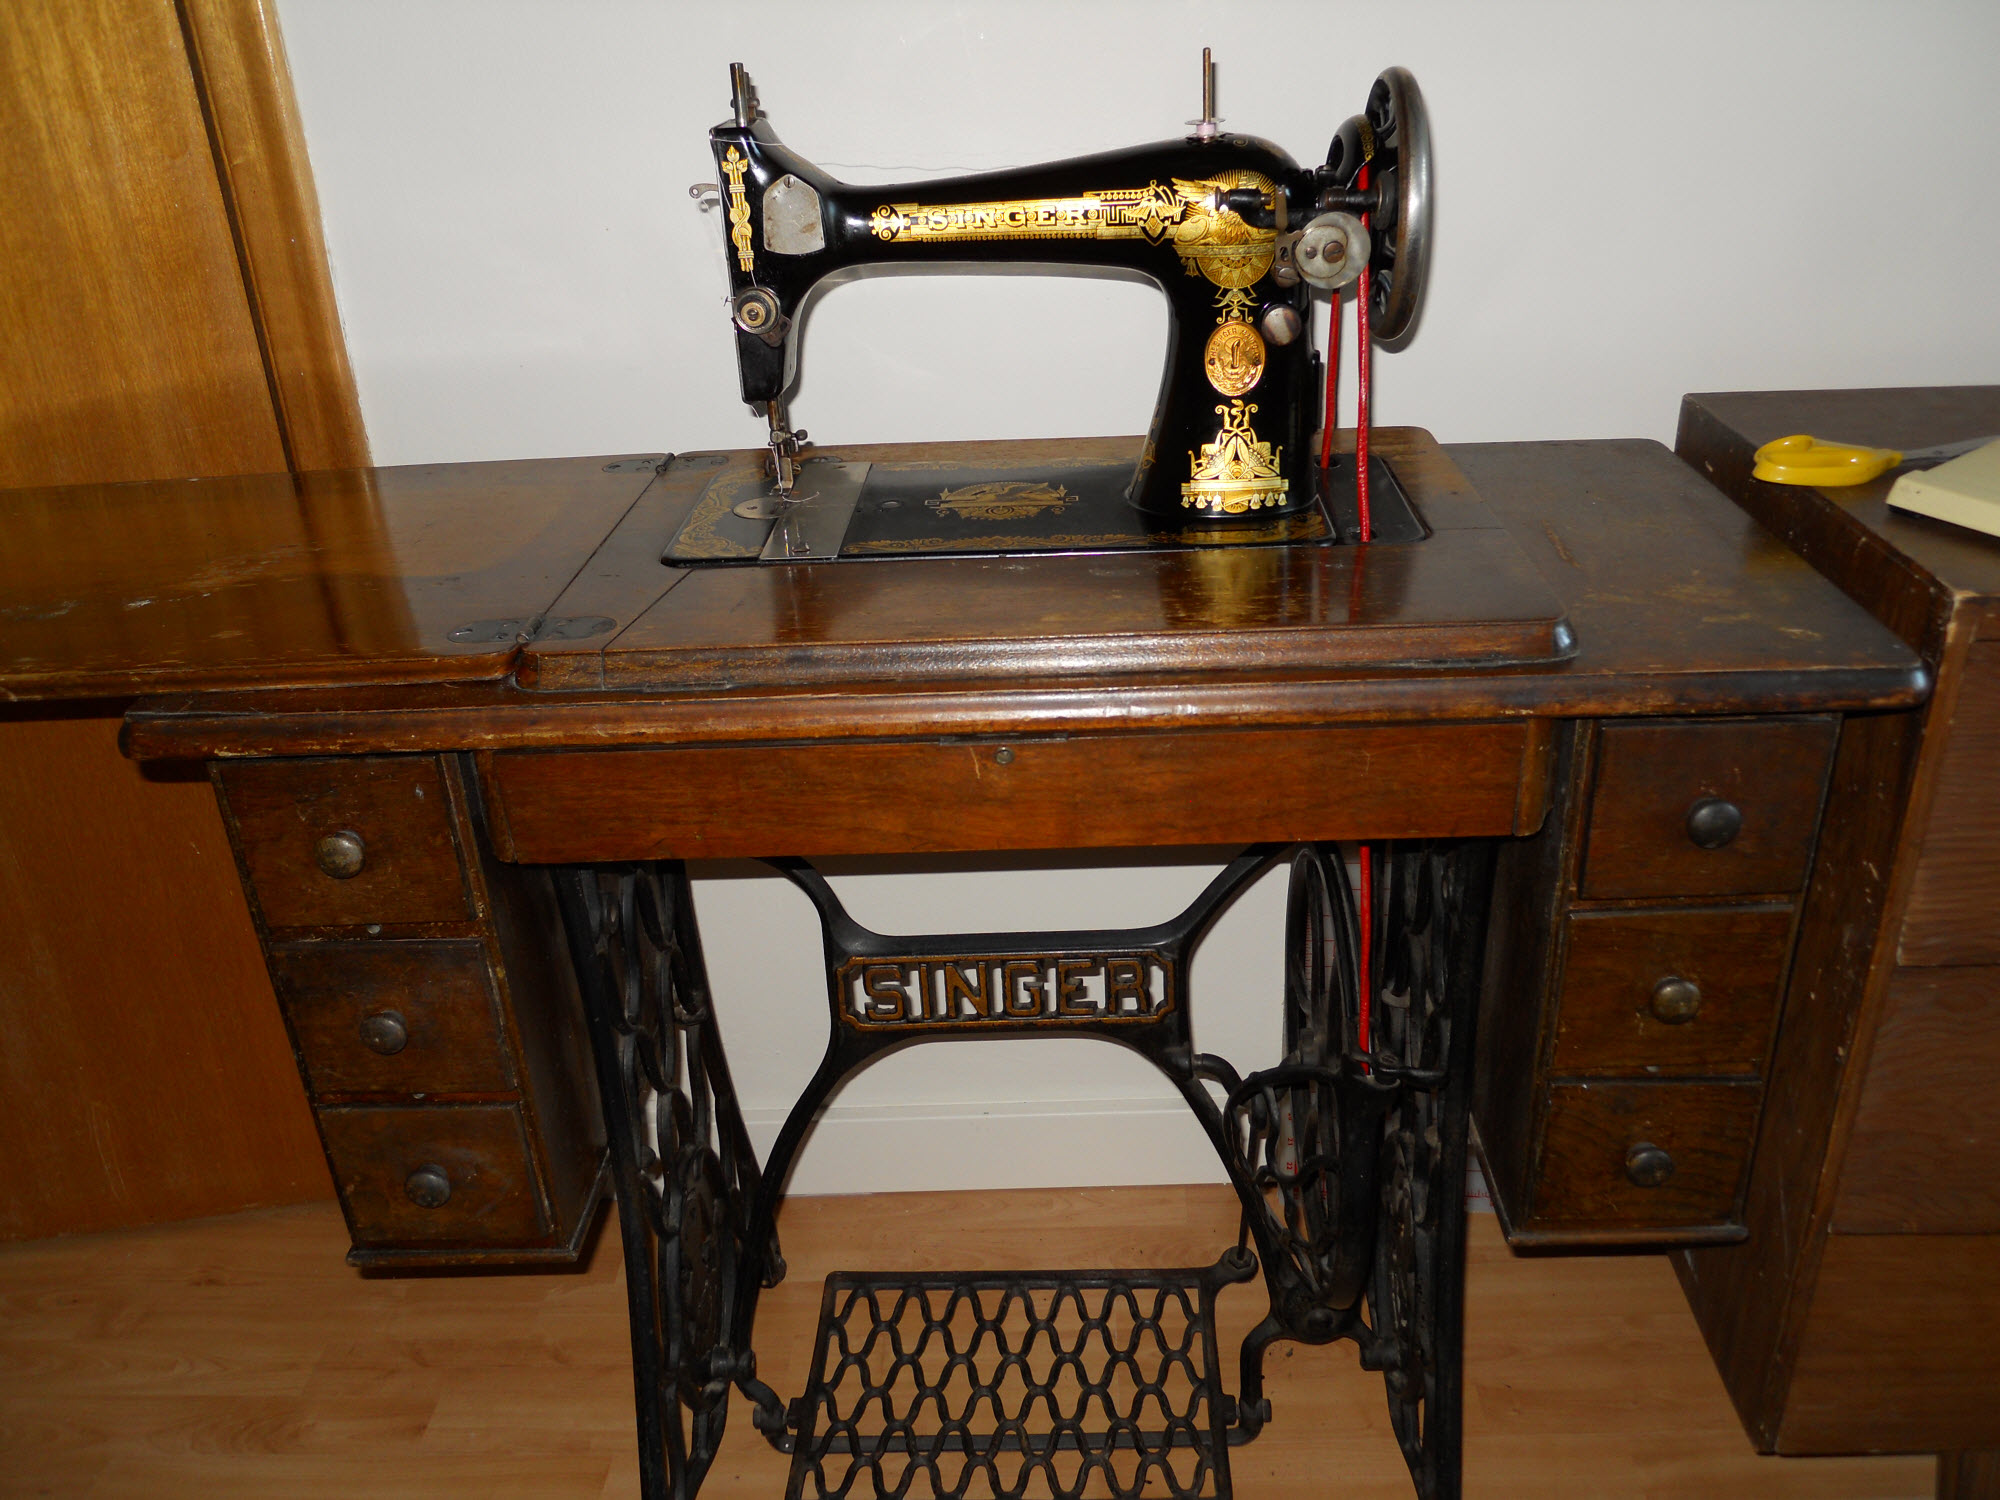
This Singer 127 treadle was completely frozen, and the cabinet was in need of refinishing.
It was a good candidate for a re-do, because the Memphis decals were in very good shape, and the veneer on the cabinet was for the most part undamaged . . . unlike many treadles, which have been used for plant stands and suffered water damage.
See the results of my efforts in this PDF.
Applying Sequins by Machine
Posted 2020 May 1
I love adding sequins to Christmas decor items, and lately I've been stitching them in place with the sewing machine, using invisible (nylon) thread. It's fairly straightforward once you know how, and the sequins stay in place better too.
Click here for my PDF showing how I've been doing it.
Custom and Personalized Mugs
Posted 2020 Apr 24
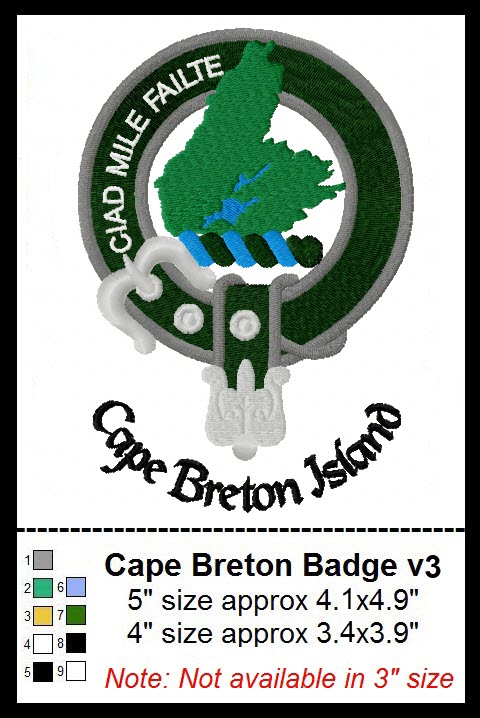
I turned this embroidery design -- and several others -- into a graphic that I had printed on custom mugs. Combined with the Cape Breton tartan, it makes a very impressive mug in a wrap-around style.
To see the mugs, and to view a few of the others I've created, click here to open a PDF.

A Childhood Memory Ornament
Posted 2020 Apr 17
As you'll know from my project postings, I love making Christmas ornaments, and I especially love capturing childhood memories to add to my own tree and those of my siblings.
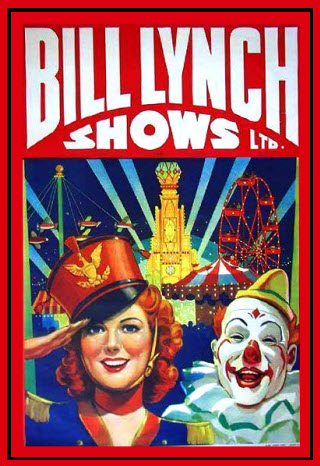
When a friend sent along this poster image, I knew I had the makings of a terrific childhood memory ornament.
When I was a child, one of the highlights of the whole year was the arrival of the traveling midway that visited our town for 10 days each July.
We called it the Circus, and throughout June, these colorful posters announced its imminent arrival from every store window. The Circus marked the end of the school year and the beginning of glorious summer, and for weeks no kid could speak of anything else.
Although it was a summer entertainment, the Circus captures much of the excitement of being a kid, and this memory has earned a place on my Christmas tree. Click here to read more about the making of this ornament.
A Christmas Tradition Preserved
Posted 2020 Apr 10
My sister's vintage Christmas stocking is looking a bit worse for wear, but she got a spiffy new machine-embroidered one, along with a matching door banner.
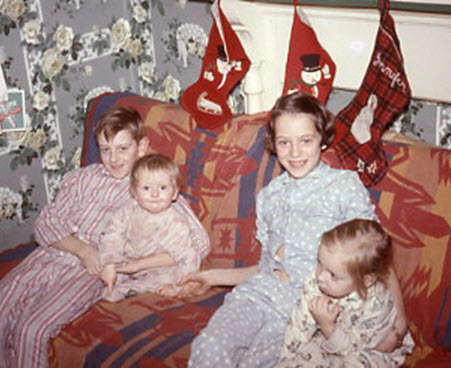
Click here to see a PDF with the details.
Tiny Boxy Zipper Bags
Posted 2020 Apr 3
Being confined to home isn't quite so bad when I can spend some of my time in the craft room . . . . and I've been taking the time to make up small gift items to help fill out Christmas stockings and birthday packages.
When cruising on youtube I came across these adorable tiny boxy bags, and I've made several using up materials I have at home.
The finished bags are only about 4" long, but they're big enough to hold keys, a credit card, and a bit of cash, and they can be clipped to a key ring or wrist bracelet.
I'm definitely going to make some more, maybe in some additional tiny sizes to hold a lip balm or some bandaids.
These boxy bags are not my original idea, and there are lots of instructions on line for this very thing, but I'll direct you to the video that inspired me. The actual instructions begin at about 4:12 in the video, and they're very clear.
You can find other examples by searching "mini boxy bags" on youtube.
Beaded Spiral Ornament
Posted 2020 Mar 27
This teeny Minnie/Mickey is too small (standing about 1.5" tall) to be an ornament on its own, but it's just the right size to be incorporated into one of my beaded spirals.
They're easy and fun to make, and a great way to use up random beads from your stash.
Click here to see a PDF with more details and a couple of other examples.
Wash Your Hands . . . and Wear a Mask
Posted 2020 Mar 13
With shortages of surgical masks in the stores, wouldn't it be nice if you could make your own? Oh, wait -- yes you can.
These are simple to construct and take a minimum of fabric, so they're great scrap-busting projects. I'll be making them as stocking stuffers for everyone on my list!
Click here to read more about the masks I made to help keep ourselves and others safe during the COVID-19 outbreak.
99K Gets a Makeover
Posted 2020 Feb 21
I have a real soft spot for the Singer 99 and its "updated" version, the 185, and all told I own five or six of the various iterations of this mechanical marvel.
These little 3/4 machines are robust and reliable, and simple to maintain, and if you come across one that needs a bit of a makeover, it's well worth the effort.
I got this little 99K from a friend who had hoped to restore it but never got around to doing so.
Click here to see a PDF of the Before & After.
Sewing Room Re-organization
Posted 2020 Feb 14
I'm lucky enough to have a large attic space for sewing, though my growing collection of vintage sewing machines recently necessitated a re-organization. This photo shows 8 machines on active duty, plus another 8 or so that are on standby in cases and cabinets.
Click this link to see a PDF of the new room arrangement.
Yards of Drawstrings for my Christmas Gift Bags
Posted 2020 Feb 07
As you'll know if you've been following my posts, I've recently become enamoured of making drawstring gift bags -- hubby loves them, and so does our best friend, and I've got a *lot* of remnants to use up . . . .
But one of the challenges I've had is to find drawstrings that will work -- not too stiff, not too chunky, smooth enough to draw easily, and especially, not too expensive.
I think I have a workable solution that costs only a few pennies! Find out more in this PDF.
Add Personalization to an Embroidered Frame Ornament
Posted 2020 Jan 31
A customized frame ornament makes a great small gift.
Add a personalization to the back to make it even more special. (Scroll down on the page at this link to find the design.)
The challenge is in lining up the message on the back of the ornament with the frame outline on the front. Click here to see a PDF showing how I did it.
Joseph Gets a New Staff
Posted 2020 Jan 24
Unfortunately, when I was putting away my Nativity Scene this year, I saw that Joseph's staff, which had previously been repaired with glue, had re-broken. I knew it wouldn't hold up with another re-glue, so I decided to re-build the staff completely, starting with a wire core cut from a coat hanger.
See the details in this PDF.
Custom Patch for a Baseball Cap
Posted 2020 Jan 10
Hubby has become such a fan of the vintage Australian TV show "Blue Heelers" that I thought it would be fun to digitize the badge to put on a cap for him.
The design is very detailed, so it's too big for my hat hoop, but I managed to put it on a hat by creating it as a patch first.
Check out this PDF to see how I did it.
Kicking off Another Year of Ornaments
Posted 2020 Jan 3
My friend so enjoyed her Ornament-of-the-Month gift last year that I decided to reprise it for 2020. I've still got quite a few designs up my sleeve that I know she'll enjoy.
The first in the series is a personalized geodesic ball, featuring family crests for her and her husband. I alternated the crests along the mid-section of the ball, then capped the top with a segment in their regional tartan. The bottom of the ornament is in the same shade of blue as the crests, with their first names printed in gold (pixilated for privacy in the image here, but clear on the actual ornament).
To make the ornament, I used 1.25" circles cut from 110lb card, which produce a sturdy finished ball of approximately 2.75" in diameter.
I printed the images for this ornament using my laser printer, but you can equally make a lovely ornament with images punched from Christmas cards. I generally use a 1.25" punch for the circles.
If you'd like to try making one of these yourself, you can find instructions at this link.